Awesome Otters - SAB Catalog CASE
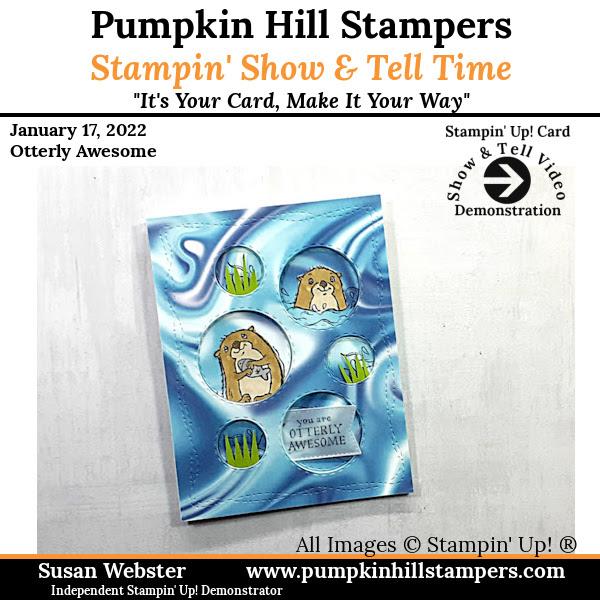
Awesome Otters (SAB CATALOG CASE)
Hello stampers!
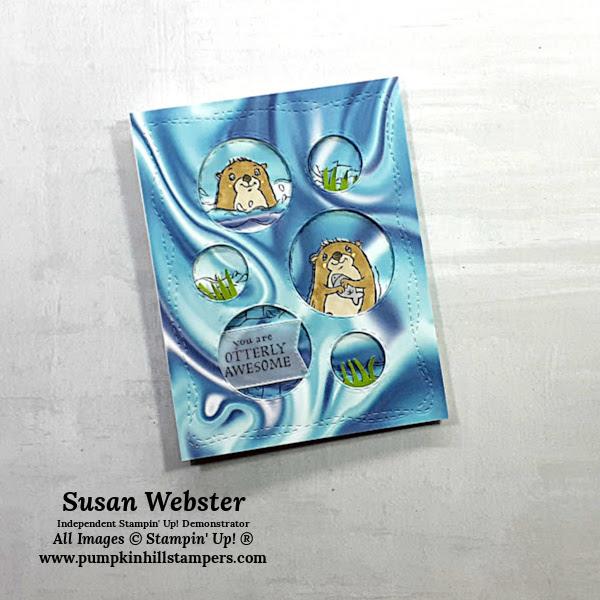
So, it's Monday, and I have a catalog CASE project for you today. It features the Awesome Otters stamp set from the SALE-A-BRATION Promotion that is currently offered by Stampin' Up! A similar card is featured in the promotional catalog with this set, and I re-created it with just a little difference. I oriented mine vertical instead of horizontal.
I got to use two new dies to my collection, the Stitched with Whimsy Die that creates a cute curves outline of dashed lines, like a stitched frame really. And the Picture This Dies, that did the circle cut outs for me. The Picture This Die would make doing a SPOTLIGHTING CARD easy. I'm excited to make other cards with these dies as well, so stay tuned for more in the coming weeks.
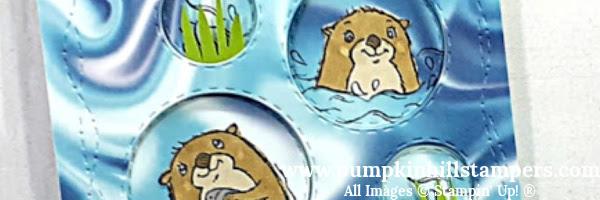
I had a lot of fun re-creating this card from the sample in the catalog. I did some coloring with my BLEND markers. Fussy cutting with the Paper Snips, and then piecing all the parts together to make this cute card. Be sure to watch the SHOW & TELL Video Tutorial I recorded to share with you, it is below. You can also follow me on YOUTUBE and be alerted whenever I post a new project video as well.
Okay stampers, do some fun stamping this week.
Susan
Supplies List - Shop Online 24/7
Stamp Sets:
- Awesome Otters 158087 (SAB JAN 2022)
Ink:
- Memento Black 132708
- Blend: Crumb Cake 154882
- Blend: Soft Suede 154906
- Blend: Smoky Slate 154904
Paper:
- Basic White 159276
- Vellum 101859
- Granny Apple Green 146990
- DSP: Simply Marbleous 158128 (SAB JAN 2022)
Accessories:
- Pictures This Dies 155559
- Stitched With Whimsy Dies 155314
- Tasteful Labels Dies 152886
- Stampin’ Trimmer 152392
- Bone Folder 102300
- Tombow Adhesive 110755
- Dimensional 104430
- Stampin’ Cut & Emboss 149653
- Paper Snips 103579
Instructions:
-
Cut a 8 ½” x 5 ½” piece of Basic White cardstock. Score at 4 ¼”. Fold in half to form a card base. Burnish crease using a Bone Folder.
-
Cut a piece of Simply Marbleous DSP to 4 ¼” x 5 ½”. Then die-cut the Picture This Circles Dies in the center of the piece. Then position the Stitched with Whimsy Dies around the edge and die-cut again.
-
Back the DSP with dimensionals and add to the face of your card. It should line up with all the edges.
-
On a piece of Basic White scrap cardstock, with Memento ink, stamp the two otter images. Then color with the BLEND markers and fussy-cut with the paper snips.
-
On two of the larger circle dies removed from the Picture This die-cut, stamp the two otter images again. Add the cut out images to those two circles as well. Trim around the circle any excess image.
-
Now with liquid adhesive, position those circles back into the original on the card face.
-
Now stamp just the edge, the water wave image, onto the remaining circles and reposition them into the circle die-cut areas as well.
-
Use your paper snips to create the grass embellishment from scrap Granny Apple Green cardstock. Take a small section, ¾” inch by ¾” and cut “fringe” into the cardstock. Then use liquid adhesive to add them to the smaller circles for embellishment.
-
On vellum cardstock, stamp the expression, “OTTERLY AWESOME”. Let it dry completely. Then die-cut with the Tasteful Labels die that looks like a banner. Use liquid adhesive to add this to the last larger circle.