Kissing Technique with Art Gallery

Kissing Technique with Art Gallery
& Stacked Stone Stamp Sets


Hello my stamping friends.
Welcome to the Stamping with Friends Blog Hop today. We are showcasing the Kissing Technique in our projects today, so be sure to hop along to the next crafters to see how we all used the technique, but maybe in some very unique ways.
Basically the Kissing Technique when it comes to stamps, is pressing two inked images together before you stamp the image down. You might think of it as two-step stamping, but instead of stamping the first image and then the second image, you are transferring the second image to the first image and then stamping. I typically think of this with large background stamps, where you might want the texture of the stamp on your image, but not everywhere. So it’s like selectively editing the image for your project.
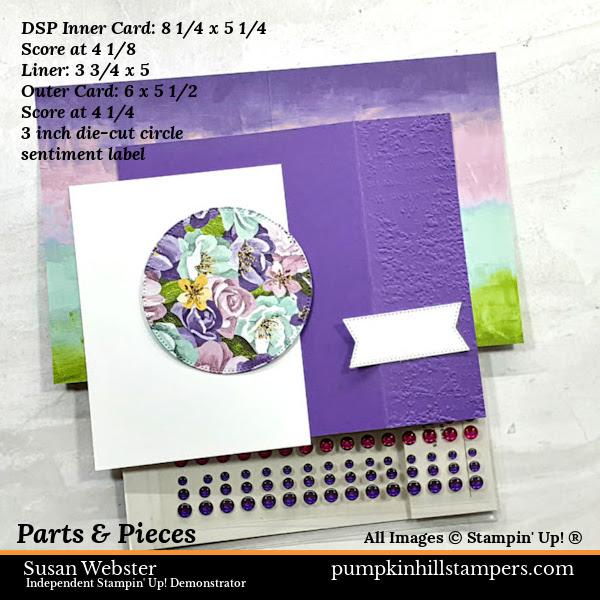
Okay, so as you can see from my project photo above, I used my Art Gallery stamp set for my image and the Stacked Stone background stamp for my textured image. I paired my Daffodil Delight ink with Pumpkin Pie ink, and then showcased the whole project on a Pumpkin Pie card base.
Here are some of the photos as I worked through my project.


So, you can see how the image of the flower has the added texture of the Stacked Stone stamp, but the area around the flowers has remained clean of any images.
I hope you enjoyed this project today. My supplies are listed below if you need them. Now it’s time to send you along to the next blog hop project, just use these links below to see them all. Remember, we love getting comments on our shared projects, so take a quick minute and let us know if we inspired you today.
Happy Stampin,
Susan
Pumpkin Hill Stampers
EMAIL: susan@pumpkinhillstampers.com
Supplies List - Shop Online 24/7
|
|
|
|
|
|
|
|


Ink: Daffodil Delight, Pumpkin Pie
Blends: Pumpkin Pie
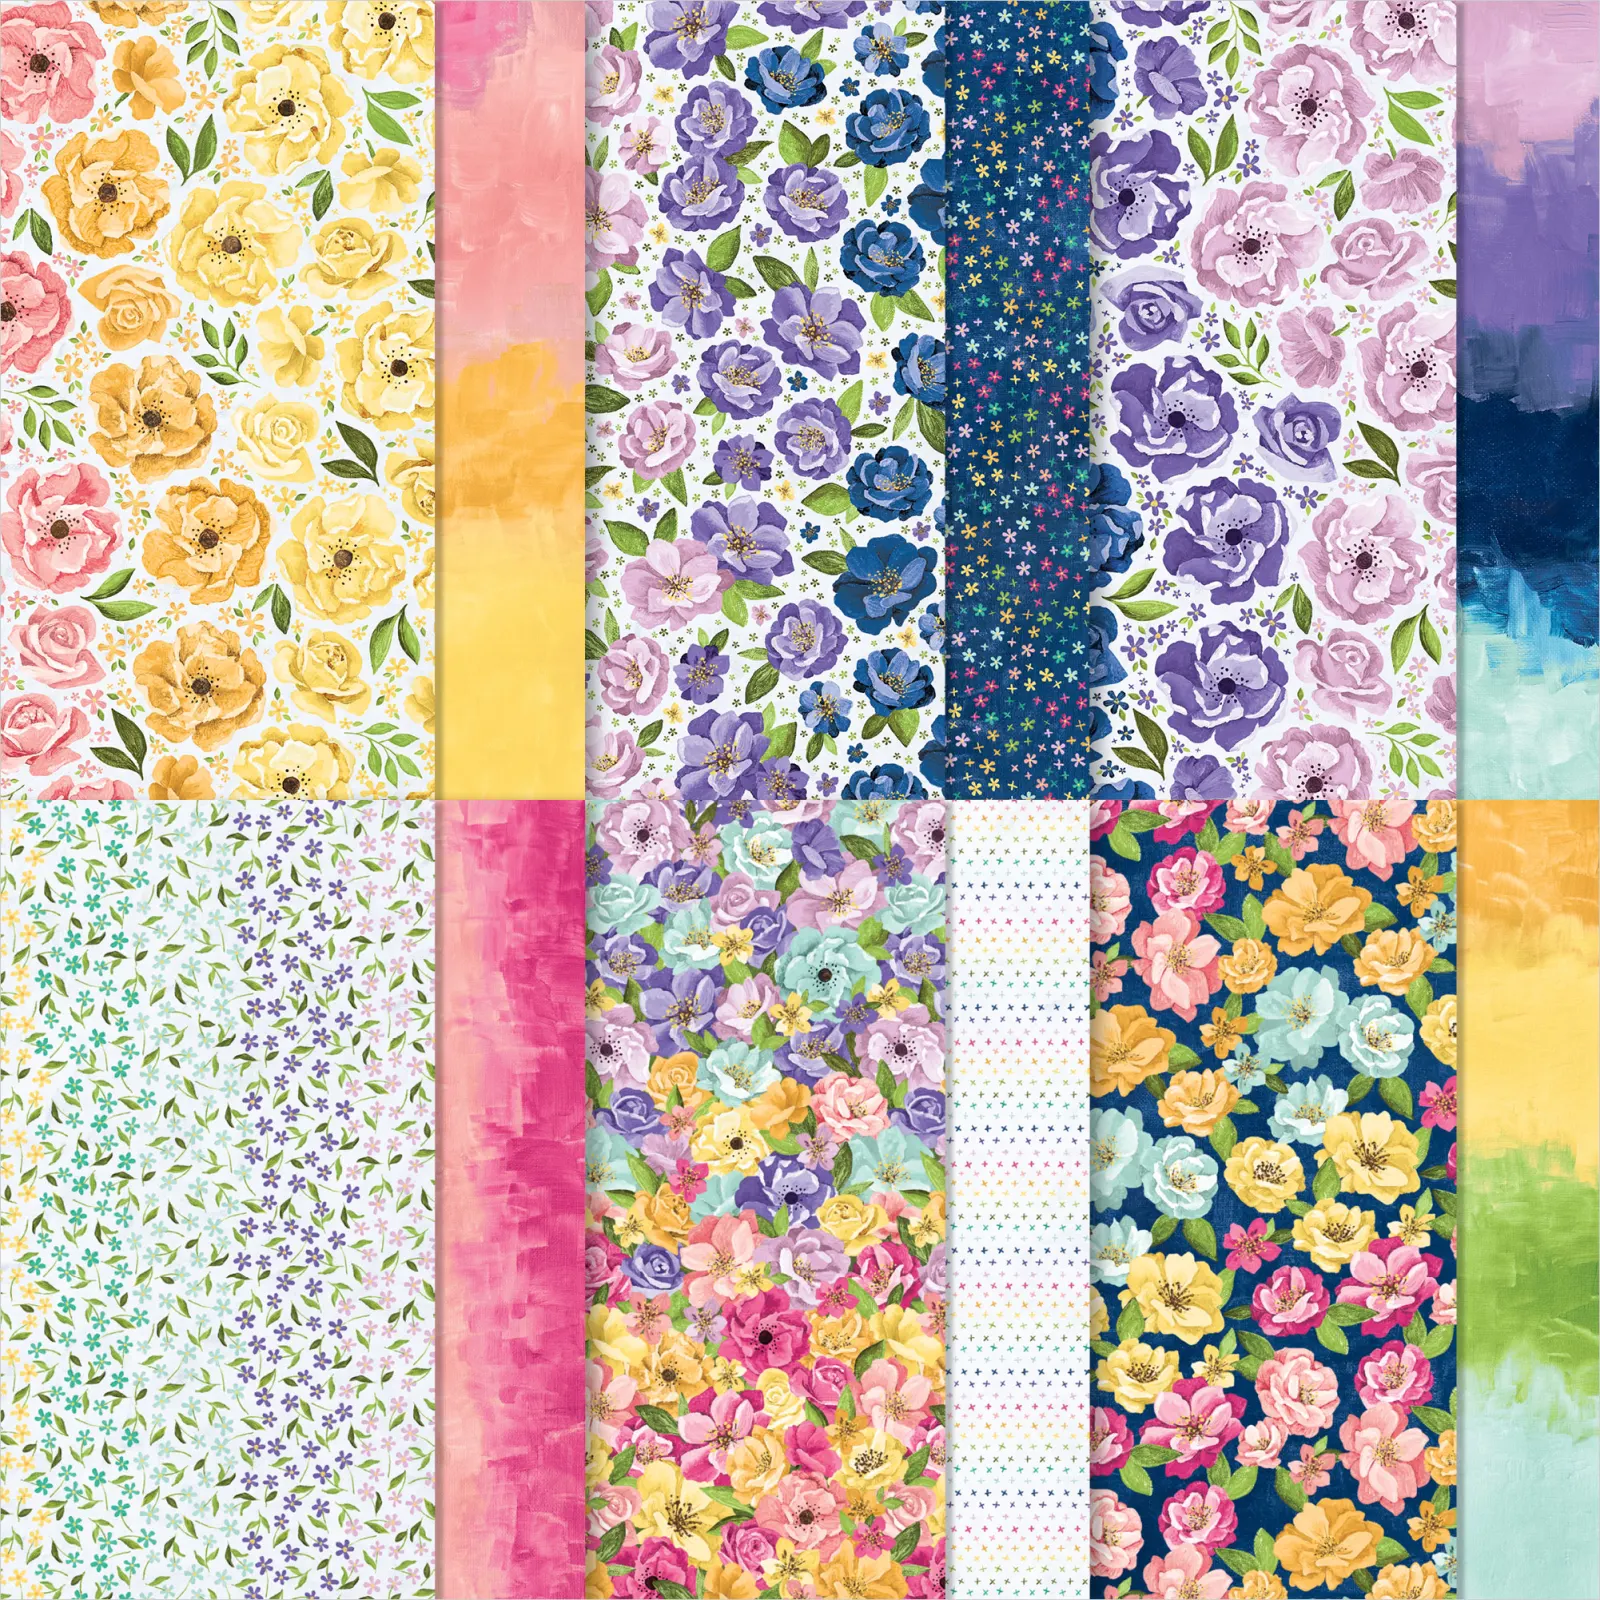
Paper: Daffodil Delight, Pumpkin Pie, Basic White
Tools: Simply Scored Tool, Stampin’ Trimmer, Bone Folder, Cut & Emboss Machine
Adhesive: Multipurpose Glue, Dimensionals
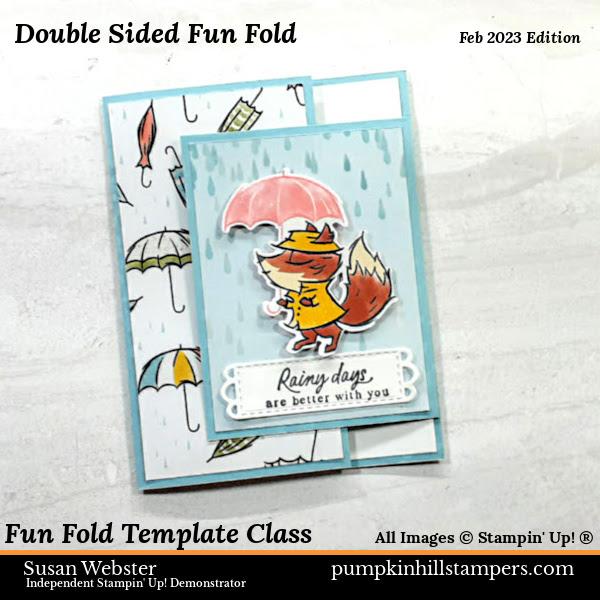
Check out my MONTHLY FUN FOLD CLASS!
Here are a couple of projects that might interest you. These have been featured in my Fun Fold Template Class. Each will take you to the project post. Or visit the Mo Fun Fold Template Class page for more information. You are welcome to join us anytime.
|
|
|
|


Leave me a comment, ask a question or subscribe to my newsletter to see more of my projects. Thanks for visiting my project today.
|
|
YOUTUBE (subscribe to channel) |