Bird's Eye View - WooHoo

Bird’s Eye View - WooHoo

Hello my stamping friends.
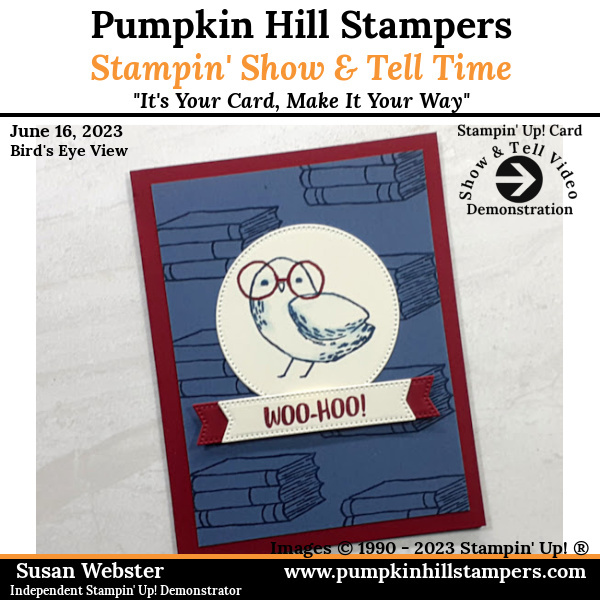
Sharing this fun and simple project with you today. It features the Bird’s Eye View stamp set from the annual catalog. I have a quick video tutorial to share with you, and share the step by step process of crafting this card. Take a look at the project and then try a project of your own.
YOUTUBE LINK
This card features repetitive background stamping, coloring with the blender pens, and layered tag sentiments. Keep the colors simple, just two colors and a neutral! All the products I used are listed below.
So what do you think? Please leave me a comment and let me know how this project inspired you today.
Happy Stamping,
Susan
Susan Webster
Pumpkin Hill Stampers
Independent SU! Demonstrator
Your Creative Coach since 2005
How to follow/contact me!
EMAIL: susan@pumpkinhillstampers.com
NEWSLETTER (subscribe)
YOUTUBE (subscribe)
Supplies List - Shop Online 24/7
Product List

|

|
||

|
|||

|

|
||

|

|

|

")