
Bird's Eye View | Mirror Technique

Bird’s Eye View for Mirroring Technique
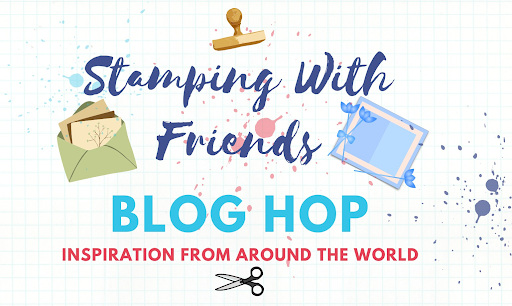
Stamping With Friends Blog Hop

Hello my stamping friends.
It’s Mirror Technique day with the Stamping With Friends Blog Hop! I am featuring the Bird’s Eye View stamp set for my project. You can watch the full Show & Tell demonstration, and leave me comments over on my YT post. Then I have more details about my projects here in my post.

YOUTUBE LINK
Now you can use the links below to visit the other projects shared today. Enjoy them all!
Want more crafting inspiration - subscribe to my newsletter.
Thanks for visiting my project today.
Happy Stamping,
Susan
Pumpkin Hill Stampers
Independent SU! Demonstrator
Your Creative Coach since 2005
EMAIL: susan@pumpkinhillstampers.com
Products & Measures - Shop Online 24/7
Card Base - 8 ½ x 5 ½ scored at 1 ½, 4, and 8 inches
Trim Cardstock - 1 x 6 (qty 2)
White Cardstock - 4 ¾ x 2 ½
Mount Cardstock - 5 x 2 ¾

|

|
||

|

|
||

|

|
||

|

|

|

|

")

 Variegated Ribbon")


