
Cheerful Daisies - Die-cut Dry Emboss Technique

Cheerful Daisy Dies - Dry Emboss Technique
Stamping With Friends Blog Hop

Hello my stamping friends.
Today is another Stamping With Friends Blog Hop. Welcome and I think you will enjoy today’s theme of crafting with dies to showcase dry embossing techniques. I have this project that features the Cheerful Daisy Bundle. I also used a new color, Bubble Bath, for my color element.
Using die-cuts to create a faux dry-embossed image can be a lot of fun. These Cheerful Daisy Dies were really fun to craft with. They have two sets of coordinating and interlocking dies. This is how I was able to create the daisy with the Bubble Bath centers without having to stack my die-cuts.

I simply cut one set from Basic White, and then another set with the Bubble Bath. Then just piece them back together like puzzle pieces. I used mini glue dots on the back of the dies to piece them back together and also to adhere them to the card.
Here are the parts of my project that I started with.
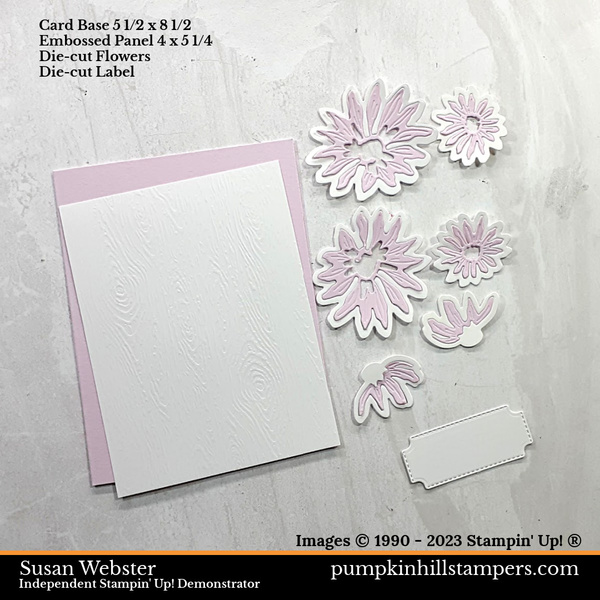
I kept it real simple with just a layer of embossed Basic White, embossed with the Timber embossing folder as a background. I am using the Bubble Bath cardstock for the card base. Six die-cut flowers and a sentiment tag.
So that’s it! What do you think about this quick and easy project? I only used ink for the sentiment. Leave me a comment and then follow the next link to see all the other projects being shared today on the blog hop.
Happy Stamping,
Susan
Remember to leave me a comment, ask a question or subscribe to my newsletter to see more of my projects. Thanks for visiting my project today.
Susan Webster
Pumpkin Hill Stampers
Independent SU! Demonstrator
Your Creative Coach since 2005
EMAIL: susan@pumpkinhillstampers.com