
Thinking of Springtime | Inspirations Blog Hop March 2021

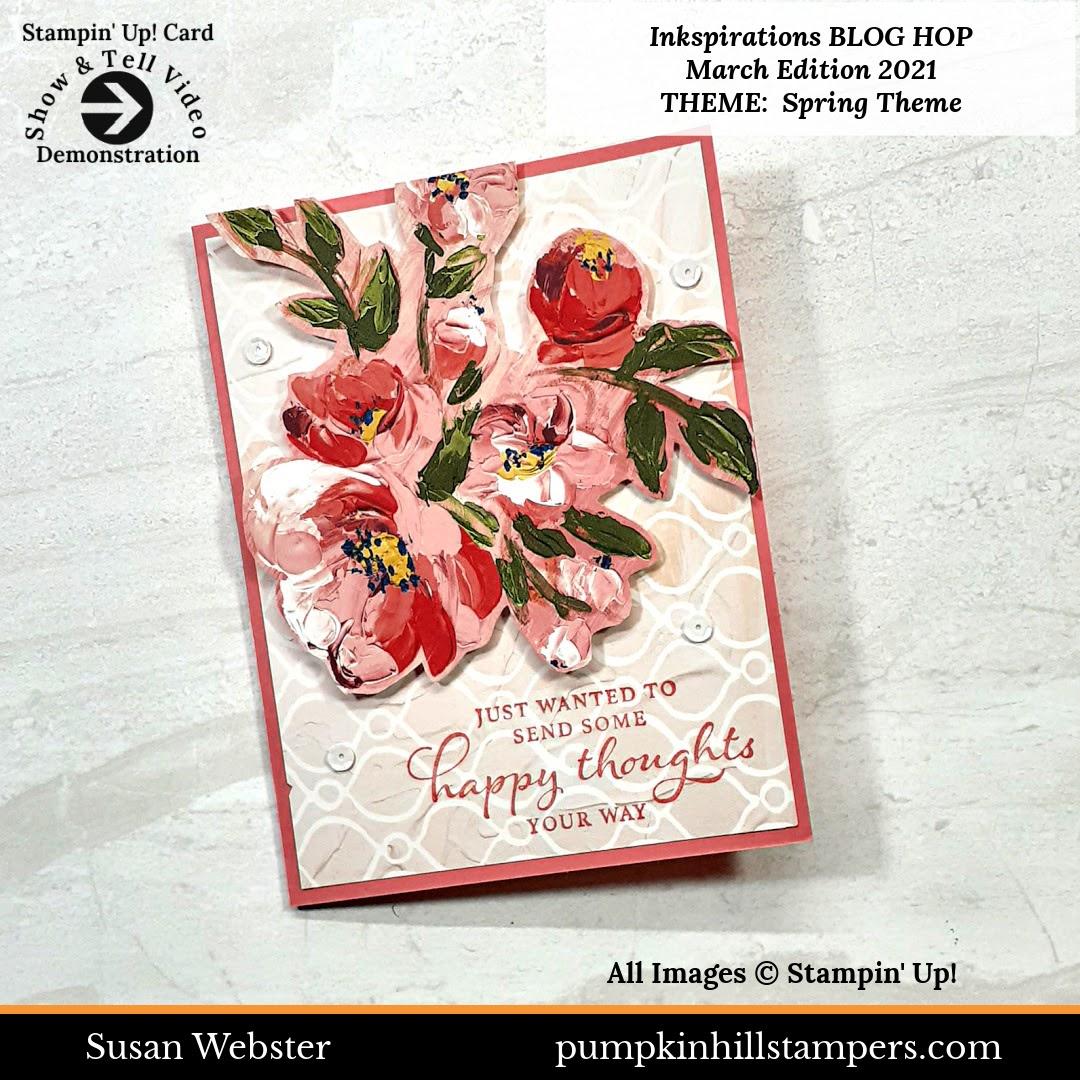
Welcome to the STAMPING INKspirations BLOG HOP for March 2021. This month we are focusing on celebrating Easter & Springtime!
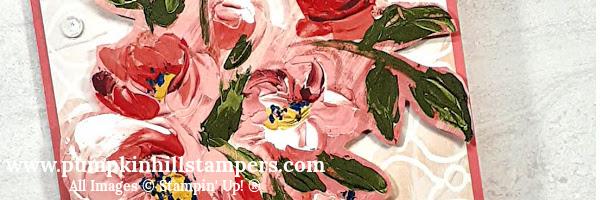
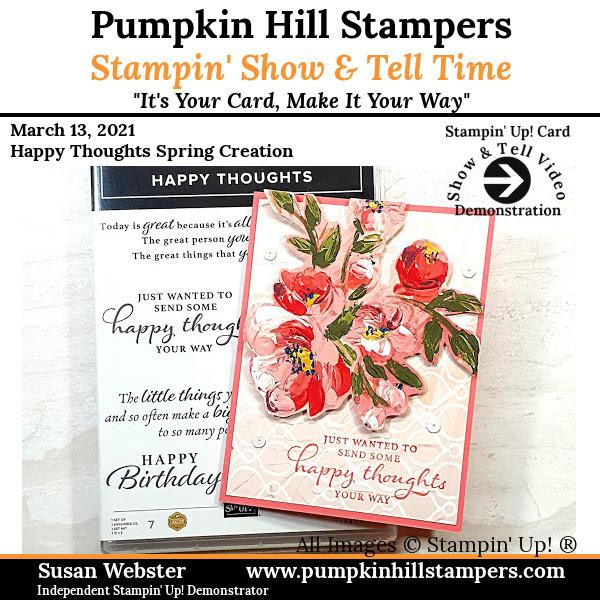
For today’s project, I am featuring an image from the Fine Arts Floral Designer Series Paper. This is a very simple project idea and one you can certainly recreate with any of your own collection of patterned and print paper. Here’s a quick video demonstration to take you through the process.
My project could easily be CASED, that means Copy And Selectively Edit, with the same products or other similar ones. I share the full tutorial with you down below in the post, so if you need the materials & measures they are easily found. You can make your very own projects following this idea, all you need is:
-
Cardstock
-
Patterned paper
-
Sentiment stamp
-
Embellishments
Now that you have visited with me, and I hope my project may have inspired you, it’s time to send you along to the next blog with Anne Marie Hile. Please leave me and the other paper crafters comments on our posts. We just love to know what you think of our ideas.
MARCH 2021
Angie McKenzie ● Mikaela Titheridge ● Alejandra Gomez
Leonie Stuart ● Danielle Kassing ● Annette Ball
Vicki Milyard ● Aurélie Fabre ● Kristie Wilson
Mo Rootes ● Gez Carpenter ● Terry Hamilton
Deb Macdowell ● Narelle Fasulo ● Karen Henderson
Jill Chapman ● Melissa Faust ● Susan Webster
Anne Marie Hile ● Chris Smith ● JoAnn Pollock
Cheryl Hamilton ● Tricia Butts ● Teri West
Susan Simpson ● Rochelle Laird-Smith ● Lisa Mackey
Libby Fens ● Ann Krucek ● Jan Musselman
Shel Anderson ● Sue Allen ● Jo Blackman
Thinking of Springtime Tutorial
Supplies:
Stamp Sets – Happy Thoughts [154507]
Card Stock – Flirty Flamingo [141416], Fine Arts Floral DSP [154558]
Stamp Pads – Flirty Flamingo [147052]
Misc - Paper Snips, Adhesive, Dimensionals
Measurements:
Card Base 5 ½ x 8 ½ [scored at 4 ¼]
Patterned Paper 4 x 5 ¼
Embellishment DSP Image
Instructions:
Fussy Cut or Die Cut Your Focal Embellishment of Choice
-
Here I used my paper snips to cut out the floral print from the patterned paper.
-
If you have a coordinating die for the image you choose to use you could certainly use your die-cutting machine to create it.
Add the Patterned Paper
-
With adhesive of your choice, add the patterned paper to the front of your card.
Stamp your Greeting
-
Stamp your greeting with coordinating ink.
Add Embellishment
-
I used dimensionals to add my floral image.
-
If your image is larger than your card, just trim down the edges once you have it adhered.