Love Cats - Head Over Heels | Penny Spinner

Love Cats - Head Over Heels | Penny Spinner

Hello my stamping friends.
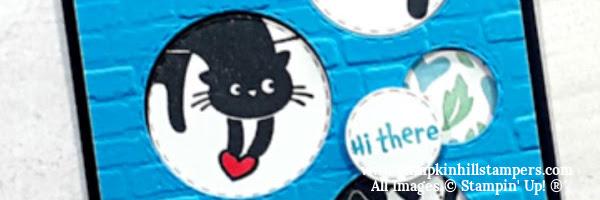
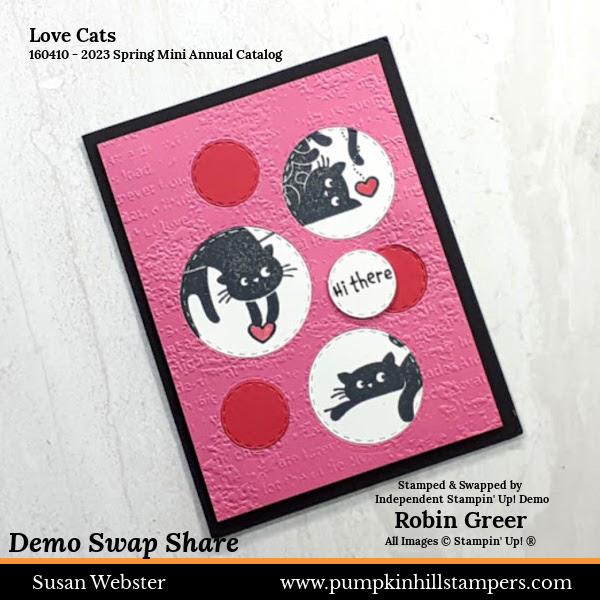
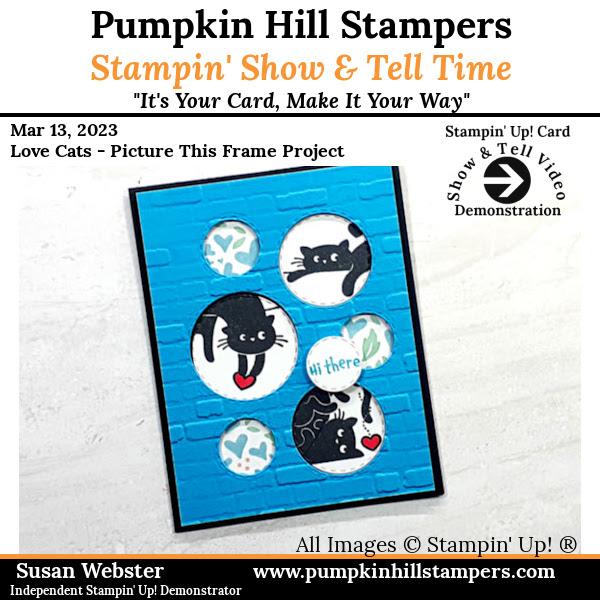
So, this might sound weird, but I’m sure I’m not alone… do you ever all of a sudden have a great idea for a card project? I woke up last week and just knew I had to do a spinner card with this LOVE CATS stamp set. So that’s the project I am sharing today!
It’s not as difficult as you might think. It’s two pennies, a couple of dimensionals, and a cut slit in the card so the penny disc can spin and roll along the opening. The rest is just regular card making skills.
So I have a Stampin’ Show & Tell video to show you this project from start to finish. Leave me a comment here or over on the YT Post. Let me know if you might try this one as well.

YOUTUBE LINK
Leave me a quick comment below. Let me know if this is something you might try in your own projects!
Happy Stamping,
Susan
Quick Step Tutorial
-
Make your card front, 4 x 5 ¼. Use a die-cut or paper punch to open a ¼ opening in the panel. This is where your penny spinner will roll.
-
For the penny spinner sandwich, layer: penny, mini dimensional (in the middle of penny), positioned between the front and back of the panel, then another penny.
-
Add the image to the top penny with another dimensional.
Supplies List - Shop Online 24/7
|
|
|
|
|
|
|
|
|


Ink: Sweet Sorbet
Paper: Mossy Meadow, Basic White, Country Floral DSP
Tools: Simply Scored Tool, Stampin’ Trimmer, Bone Folder, Paper Snips, Stampin’ Cut & Emboss, Stamparatus
Adhesive: Multipurpose Glue, Dimensionals
Check out my MONTHLY FUN FOLD CLASS!
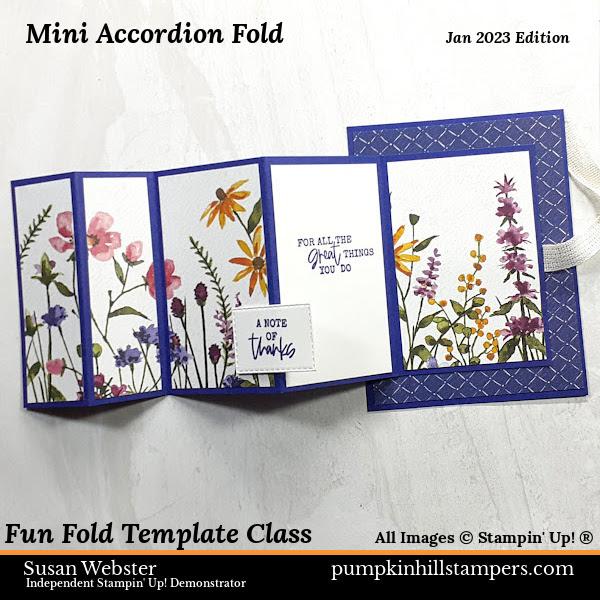
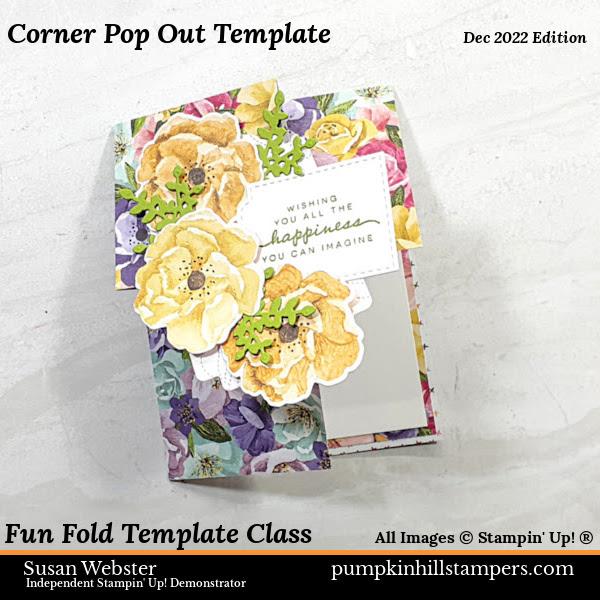
Here are a couple of projects that might interest you. These have been featured in my Fun Fold Template Class. Each will take you to the project post. Or visit the Mo Fun Fold Template Class page for more information. You are welcome to join us anytime.
|
|
|
|


Remember to leave me a comment, ask a question or subscribe to my newsletter to see more of my projects. Thanks for visiting my project today.
Susan Webster
Pumpkin Hill Stampers
Independent SU! Demonstrator
Your Creative Coach since 2005
EMAIL: susan@pumpkinhillstampers.com
|
|
YOUTUBE (subscribe to channel) |