Dainty Flowers - Heat Emboss Resist

Dainty Flowers | Emboss Resist Technique

Hello my stamping friends.
Welcome to the first Stamping With Friends Blog Hop for 2023! We are showcasing Emboss Resist Techniques this time with our project posts, so be sure to hop along the links and see varying applications of this technique.
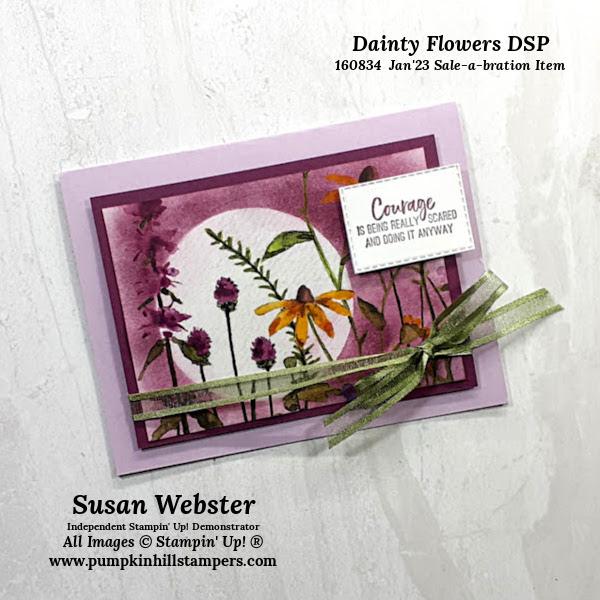
I am showcasing a sample from the Sale-a-bration DSP - Dainty Flowers for my focal image on my project today. This comes on a sheet of 12 x 12 Designer Series Papers. I do a simple die-cut window and emboss direct to the DSP image. Then add ink to the exposed DSP section to create a spotlight on the image.
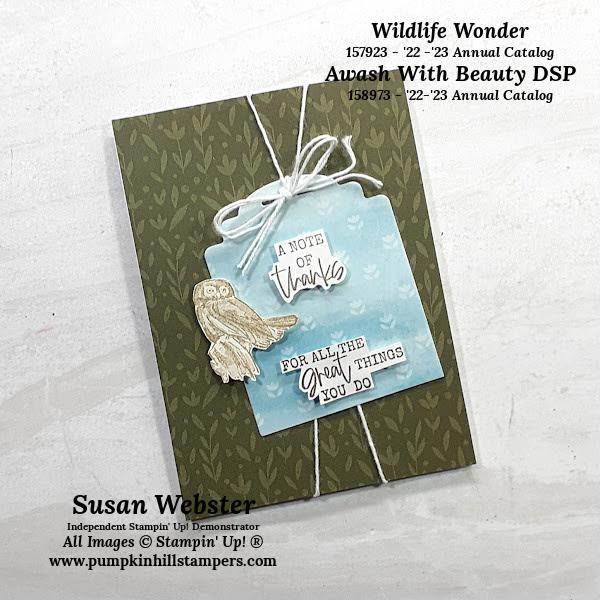
I also used the stamp set Sending Support, which is also a Sale-a-bration item now available with a $50 purchase during the promotion. And I also dyed my ribbon to color match my DSP colors using my BLEND marker.
I do have a Stampin’ Show & Tell Video demonstration for my project to share with you today. So just follow this link on over to my YT Channel and what as I pull the whole project together from start to finish.

YOUTUBE LINK
Okay, so there’s my quick project for this hop of sneak peeks. Leave me a comment, let me know what you think! Then follow the NEXT LINK to visit the next crafter.
Happy Stampin',
Susan
Quick Step Tutorial


Supplies List - Shop Online 24/7
|
|
|
|
|
|


Ink: Rich Razzleberry
Blend: Mossy Meadow
Paper: Fresh Freesia, Rich Razzleberry, Basic White, Dainty Flowers DSP
Tools: Simply Scored Tool, Stampin’ Trimmer, Bone Folder, Paper Snips, Stampin’ Cut & Emboss Machine
Adhesive: Multipurpose Glue, Dimensionals
Check out my MONTHLY FUN FOLD CLASS!
Here are a couple of projects that might interest you. These have been featured in my Fun Fold Template Class. Each will take you to the project post. Or visit the Mo Fun Fold Template Class page for more information. You are welcome to join us anytime.
|
|
|
|


Leave me a comment, ask a question or subscribe to my newsletter to see more of my projects. Thanks for visiting my project today.
Happy Stampin,
Susan
Pumpkin Hill Stampers
EMAIL: susan@pumpkinhillstampers.com
|
|
YOUTUBE (subscribe to channel) |