
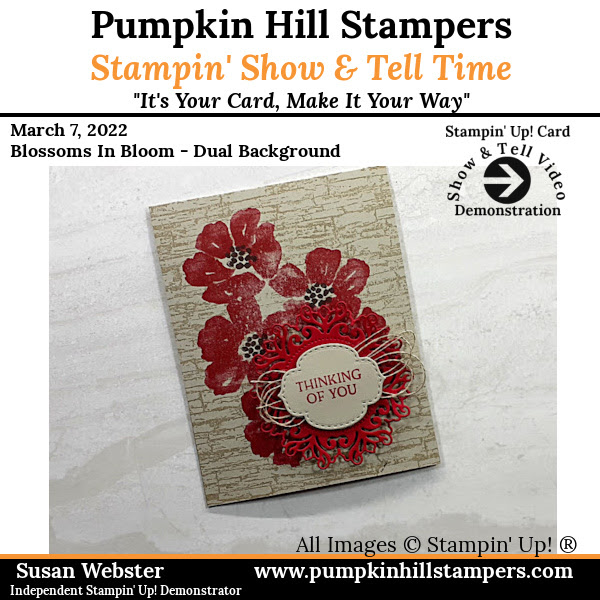
Blossoms In Bloom - Dual Background Technique

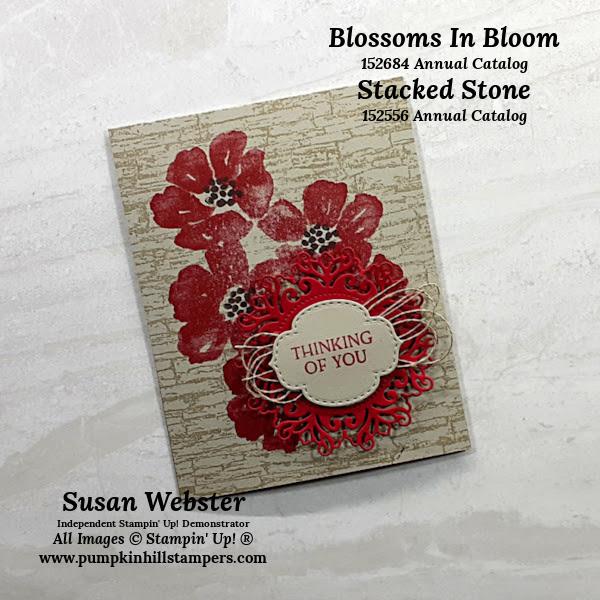
Blossoms In Bloom - Dual Background
Hello my stamping friends,
Today I am sharing this dual background technique card with all of you. It's really a fairly simple idea, one background stamped over another one. Be sure to check out my video tutorial Stampin' Show & Tell on my Youtube channel (the link to the video is below.) If you are inspired to give it a try, drop me a comment and let me know how it goes for you. Remember, I'm happy to be your Stampin' Up! demonstrator. Just shop with me, and you will be invited to join my VIP group as well, where I share other projects all week long!
Happy Stampin,
Susan
Pumpkin Hill Stampers
Supplies List - Shop Online 24/7
Stamp Sets:
- Blossoms In Bloom 152684
- Stacked Stone 152556
Ink:
- Sahara Sand 147117
- Real Red 147084
- Early Espresso 114114
Paper:
- Sahara Sand 121043
- Real Red 147084
Accessories:
- Linen Thread 104199
- Stitched So Sweetly Dies 151690
- Encircled In Beauty Dies 155546
- Paper Snips 103579
- Stampin’ Trimmer 152392
- Bone Folder 102300
- Dimensional 104430
- Stampin’ Cut & Emboss 149653
Project Instructions:
-
Cut a 11” x 4 ¼” piece of Sahara Sand cardstock. Score at 5 ½”. Fold in half to form a card base. Burnish crease using a Bone Folder.
-
Die-cut from a piece of 3 x 3” Real Red cardstock, the Encircled in Beauty Die.
-
Die-cut from a 2” x 2” piece of Sahara Sand cardstock the small label die from the Stitched So Sweetly Dies for your sentiment.
-
Ink up the Stacked Stone background stamp with the Sahara Sand ink, and stamp onto the front panel of the card.
-
Now Ink the Blossoms In Bloom with Real Red ink and stamp over the top of the Stacked Stone image. Use the stamparatus if you want multiple layers of ink.
-
Then with Early Espresso ink, stamp the centers of the flowers.
-
Stamp the sentiment with Real Red ink as well.
-
Use the linen thread to make a twisted bow for your embellishment. Adhere with dimensionals between the red die-cut and the sentiment label.
-
Add the embellishment with dimensionals to the card.
YOUTUBE LINK
Shop my online store: http://bit.ly/SusanWebsterShop
Send me an email: susan@pumpkinhillstampers.com
Follow me on FaceBook: https://www.facebook.com/pumpkinhillstampers/
Follow me on Instagram: https://www.instagram.com/pumpkinhillstampers/
Customer FaceBook Group: https://www.facebook.com/groups/stampandchatwithsusan
Read my blog: http://pumpkinhillstampers.thesearemystamps.com/
Follow me on Pinterest: https://www.pinterest.com/phstampers/
Follow me on Youtube: https://tinyurl.com/youtube-pumpkinhillstampers