
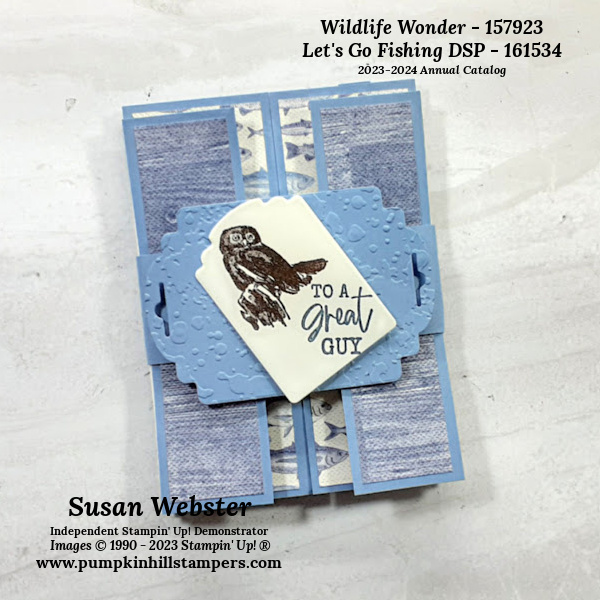
Les Shoppes - Skinny Z Fun Fold

Les Shoppes DSP - Skinny Z Fun Fold

Hello my stamping friends.
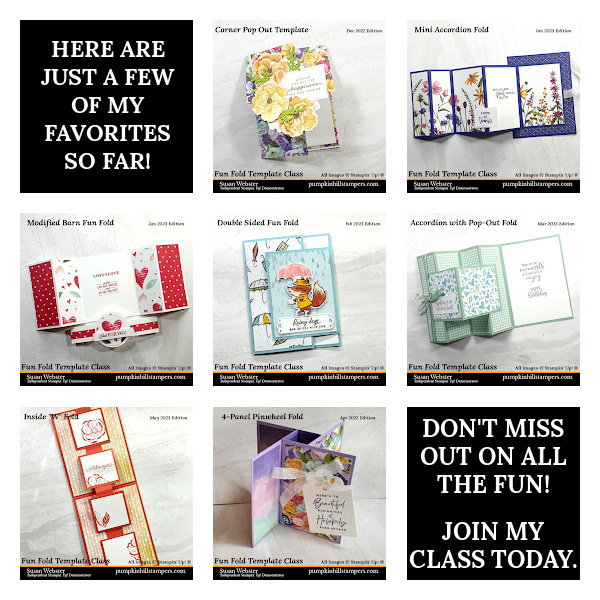
Welcome to July! Today I am sharing the first of the two fun fold templates for this month. I have crafted this fold many, many times over the last 20+ years of card making. It really is a simple fun fold to use.
For this one, you simply score off a section of the front cover and then fold it back. For this specific card I used just a skinny section. But then look at all the surfaces you can decorate with our beautiful DSP.
For this month’s fun fold template class sample projects, I am using the Les Shoppes DSP. At first I really didn’t know what I would do with these prints, but I’m getting more and more ideas as I work with them.
Okay, so each of these Fun Fold projects has a Show & Tell video to take us from start to finish. So let’s start there. If you have your templates and practice kits, you received in the mail, you can follow along and pause the video as we work together, or watch and then make your kits. Whichever works best for you. Here we go!

YOUTUBE LINK
Would you like to receive this template in the mail, along with a sample kit to practice one of your own? I have many who have signed up for my Template In The Mail Class. Everyone is enjoying the hands on template and then the pre-cut sample kit to practice one of their own! It’s not too late to get this month’s template projects, I always make a couple of extra just to have on hand.
Happy Stamping,
Susan
Check out my MONTHLY FUN FOLD CLASS!
Supplies List - Shop Online 24/7
Ink: Night of Navy
Paper: Basic White, Balmy Blue, Les Shoppes DSP
Tools: Stampin’ Trimmer, Bone Folder, Stampin’ Cut & Emboss Machine
Adhesive: Multipurpose Glue, Dimensionals
Susan Webster
Pumpkin Hill Stampers
Independent SU! Demonstrator
Your Creative Coach since 2005
How to Follow/Contact Me!
EMAIL: susan@pumpkinhillstampers.com
NEWSLETTER (subscribe)
YOUTUBE (subscribe)

")
 Designer Series Paper")


")


